
Have I ever told you how tiny my fridge is? It is tiny. It goes well in my tiny kitchen but it doesn't go well with our huge appetites. This fridge is not my friend.
Every time I buy a (small) watermelon from the market, there is always a battle for space. A battle between the watermelon and everything else that is in my fridge. Eggs, cheese, nuts, butter, vegetables, condiments, milk, the occasional bottle of wine or beer and of course these jars of mustard.
I believe I have more than enough for S and me. I actually think I have more than enough for a small army.
When I was little, I used to open the fridge and eat the mustard straight from the jar with a spoon. Everyone thought I was a child with peculiar tastes. Now those same people think I'm an adult with peculiar tastes.
The only difference is that now, I'm not content with one jar. Now I feel like I need at least ten different kinds of the yellow stuff.
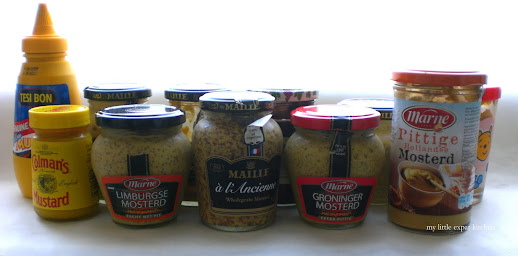
At this moment, in my fridge, there are eleven different jars/bottles of mustard. Jars that are occupying precious refrigerator space.
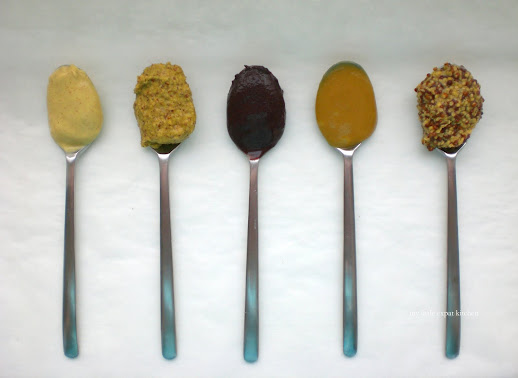
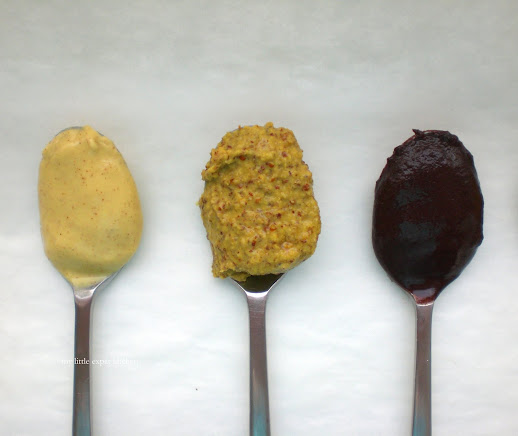
So let me introduce you to,
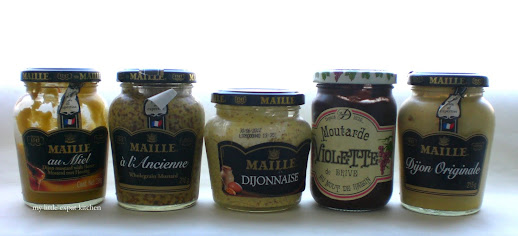
the French.
Among the best.
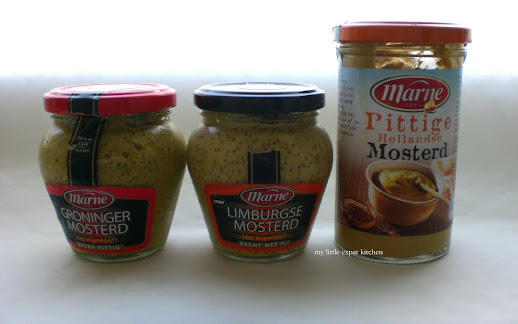
The Dutch.
They do mustard really well here.
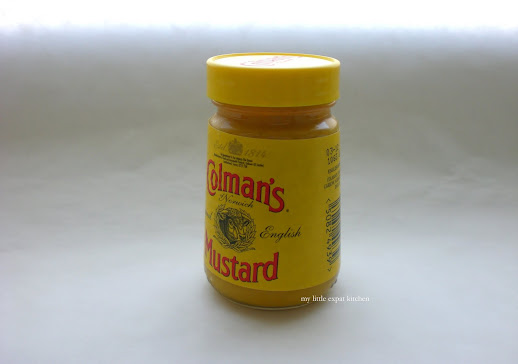
The English.
Very strong vinegar flavor. Too potent for me.
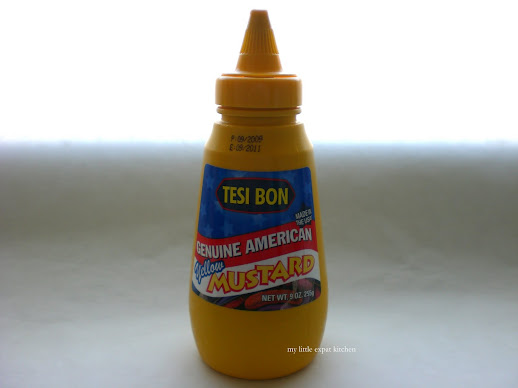
The American.
Yellow mustard is a classic but this particular one is not.
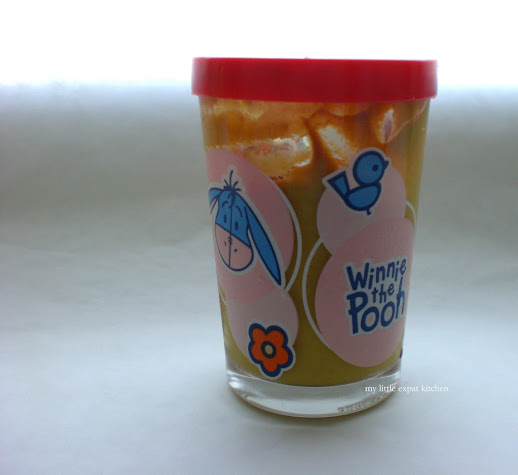
And then we have... Winnie the Pooh.
Don't ask.
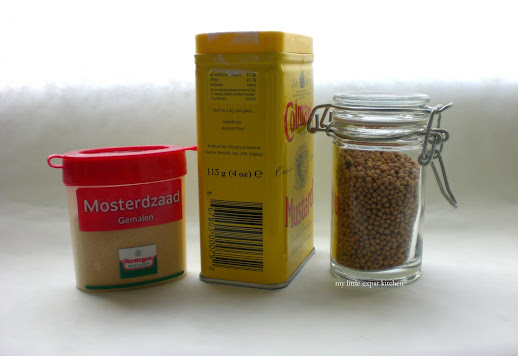
Oh, and let's not forget these. Because who can live without mustard powder or mustard seeds??
And how about you? Do you have a favorite kind of mustard? C'mon, don't leave me hanging. Please tell me I'm not alone in this mustard-crazed world of mine.
P.S. I'll be back at the end of the week with a recipe including... well, you guessed it, mustard.
Every time I buy a (small) watermelon from the market, there is always a battle for space. A battle between the watermelon and everything else that is in my fridge. Eggs, cheese, nuts, butter, vegetables, condiments, milk, the occasional bottle of wine or beer and of course these jars of mustard.

I believe I have more than enough for S and me. I actually think I have more than enough for a small army.
When I was little, I used to open the fridge and eat the mustard straight from the jar with a spoon. Everyone thought I was a child with peculiar tastes. Now those same people think I'm an adult with peculiar tastes.
The only difference is that now, I'm not content with one jar. Now I feel like I need at least ten different kinds of the yellow stuff.
At this moment, in my fridge, there are eleven different jars/bottles of mustard. Jars that are occupying precious refrigerator space.
So let me introduce you to,
the French.
Among the best.

The Dutch.
They do mustard really well here.

The English.
Very strong vinegar flavor. Too potent for me.

The American.
Yellow mustard is a classic but this particular one is not.

And then we have... Winnie the Pooh.
Don't ask.

Oh, and let's not forget these. Because who can live without mustard powder or mustard seeds??

And how about you? Do you have a favorite kind of mustard? C'mon, don't leave me hanging. Please tell me I'm not alone in this mustard-crazed world of mine.

P.S. I'll be back at the end of the week with a recipe including... well, you guessed it, mustard.


