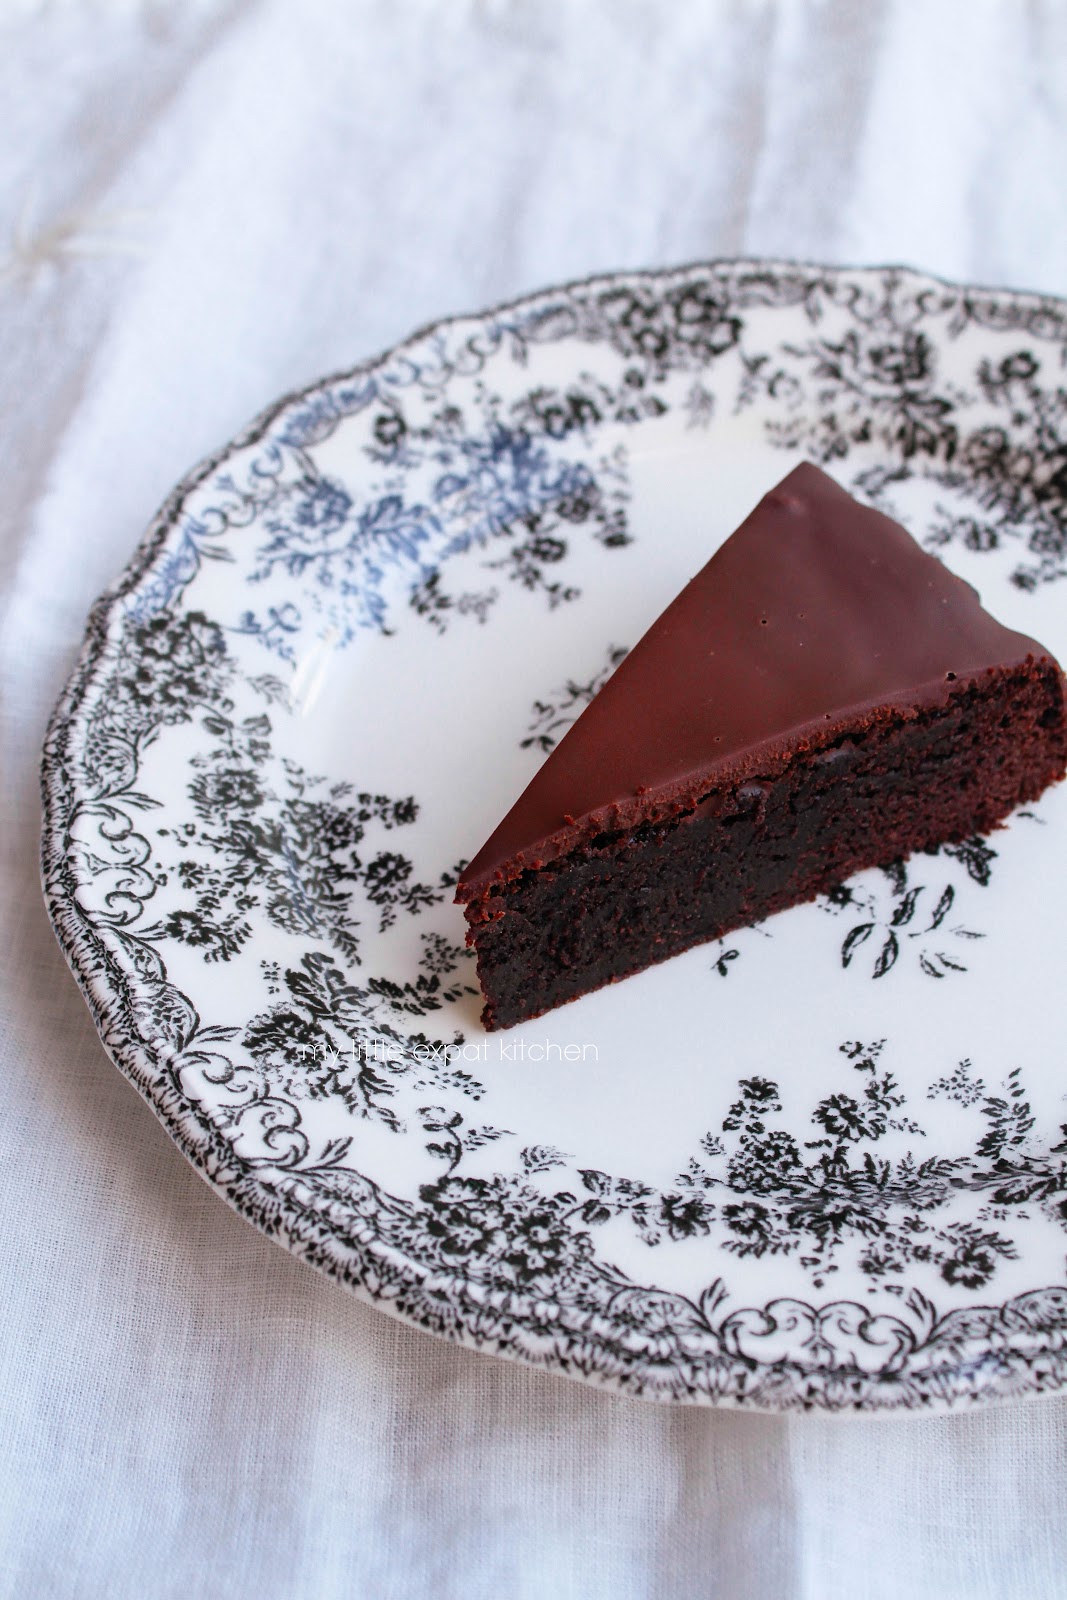
Kladdkaka is a dense, creamy and fudgy chocolate cake of Swedish origin that I decided to make even more intensely chocolaty with the addition of a dark chocolate ganache on top. It became almost decadent.
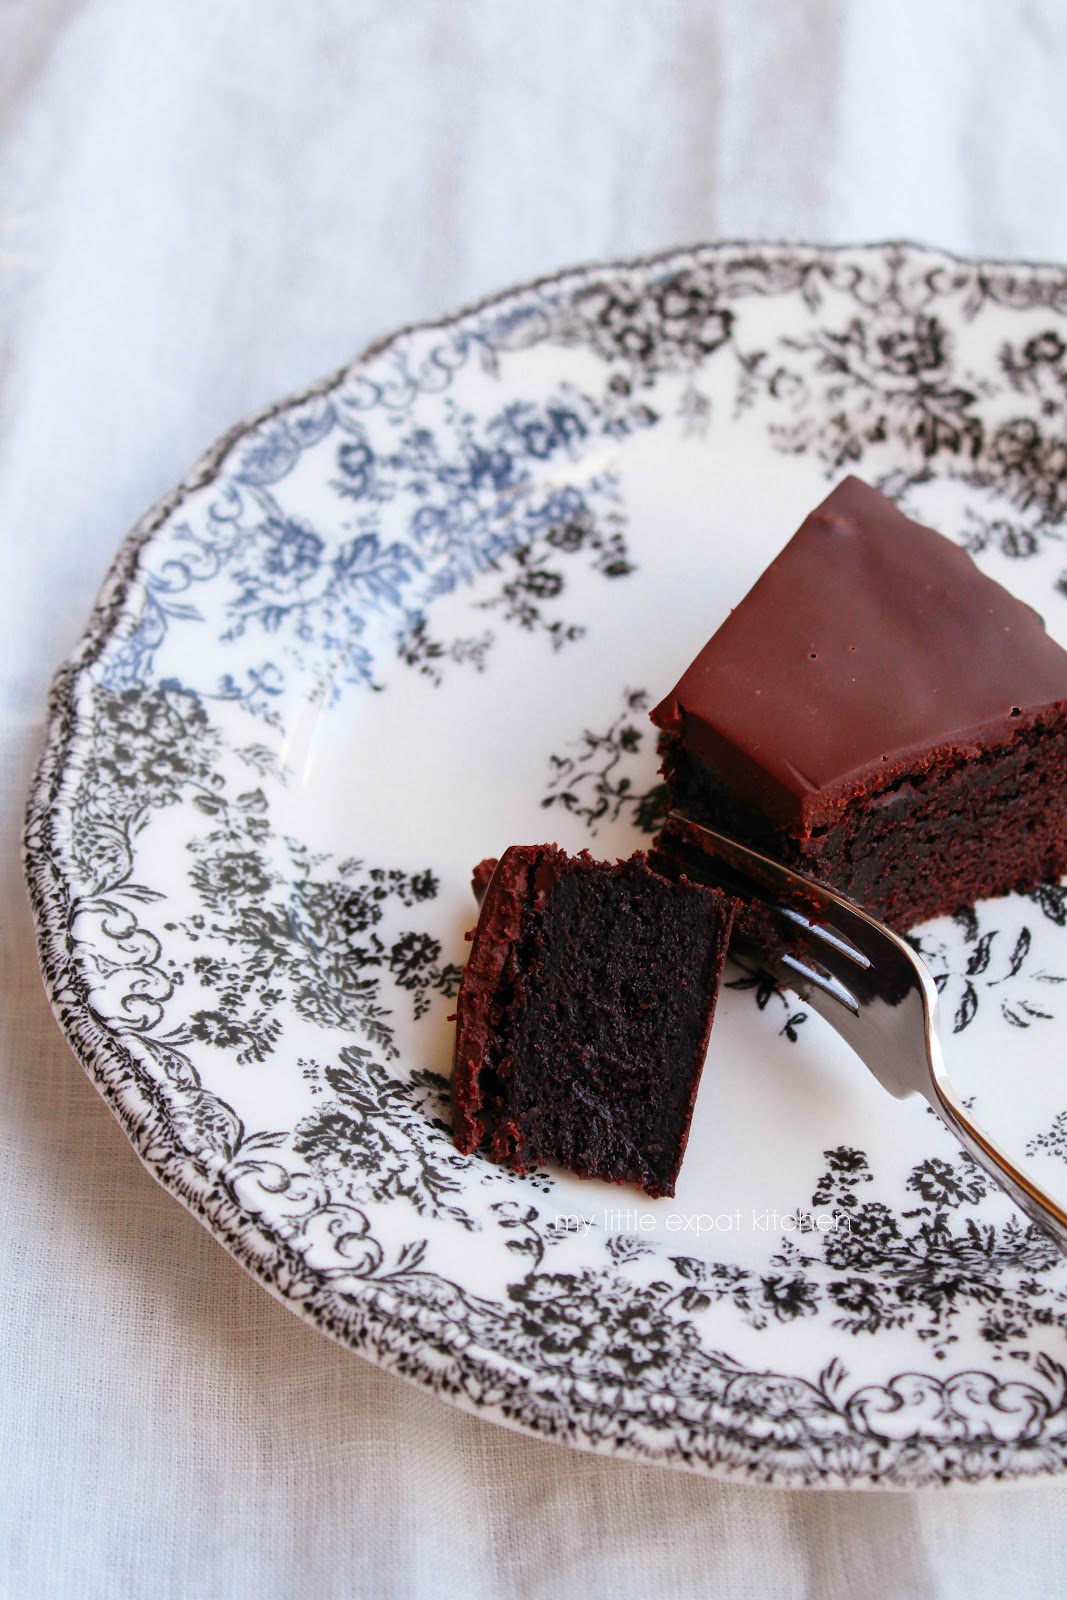
What’s even
more special about this cake, apart from its beautiful texture and intense
flavor, is the fact that it is a fuss-free cake that takes no more than fifteen
minutes to bring together, using just one pan. No mixer in sight.